I'd been visualizing a king platform bed for a few months, and while a platform bed is pretty much a no-brainer...a platform and something to support it...the design challenge was to make it big enough for a king sized bed, but small enough to get up a narrow, twisty staircase. Since the staircase wouldn't handle a queen box spring, I knew it certainly wouldn't handle a king platform. To me, that sounded like one of two options: either build and assemble it in the apartment or build it in parts that would fit up the stairs. I opted to do the latter, which brough about its own set of engineering challenges. While it would be easy to assemble it permanently in its new home, if it ever needed to move I'd have to rip it apart forcibly. As a result of those challenges, I decided to figure out how to create a platform bed in sections that could be easily fixed together and easily disassembled if need be. After pondering a few different latch systems, I had my a-ha moment lying in bed one night when the image of flight case twist latches popped into my head. A perfect solution, and if there were some kind of foam between the sections to compress, the friction would keep the sections from sliding against each other. Then it hit me. Screw the foam...as long as I've got flight case latches, how about speaker fabric to continue the theme? It would allow me to use less cosmetically perfect wood for the platform and, most importantly, prevent the mattress from sliding on the finished platform. A few minutes of sketches later, and I had the materials list. A few searches on eBay and I found a source for the latches and fabric. And below, the process.
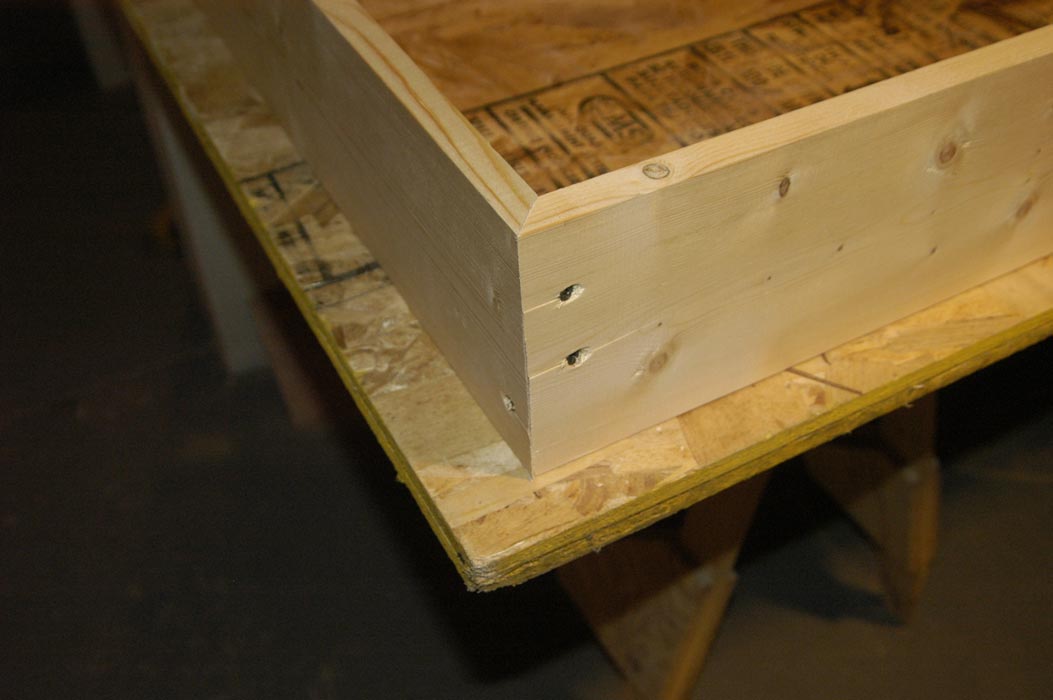
First, I miter cut a number of 1x6s for the frame. Here, you can see a stack of 'em waiting for assembly, and a closeup of the fine craftsmanship when they're fastened together.
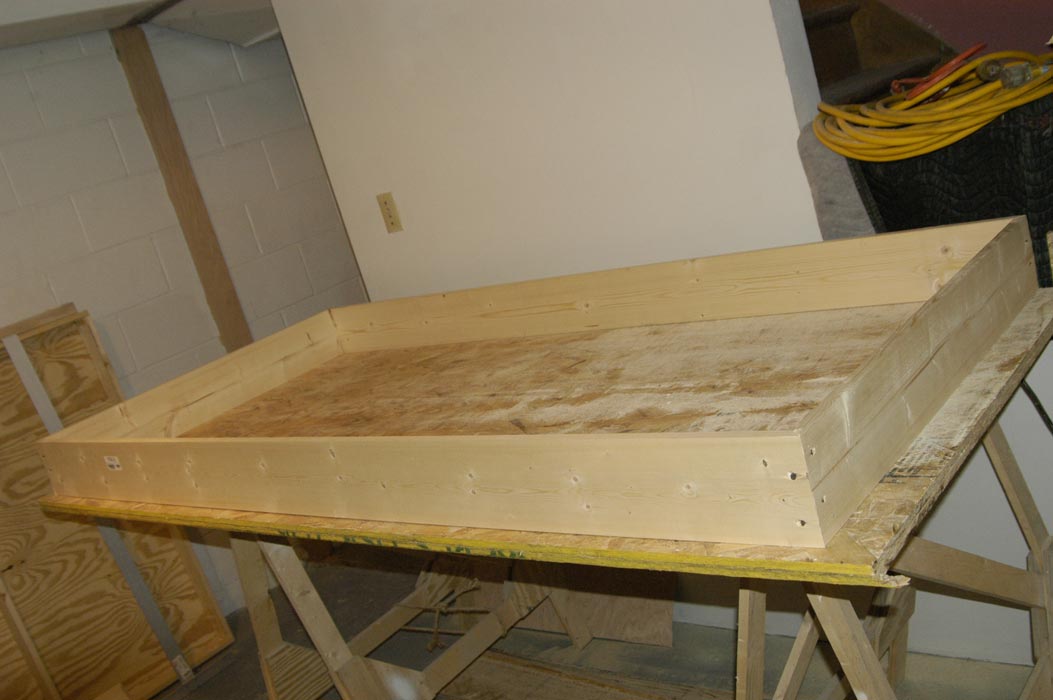
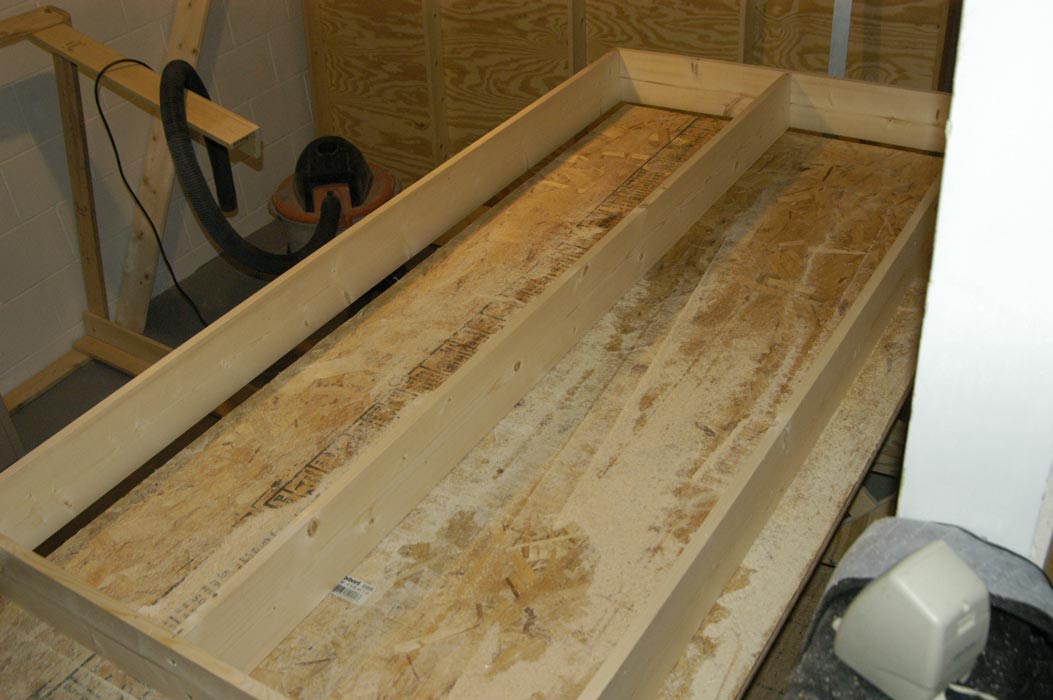
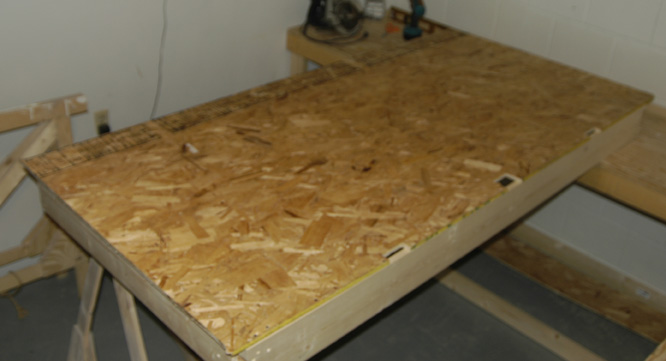
We assembled the frame (it should be noted that these images below are for HALF the frame, or one section of the platform bed. This ain't no twin size mattress platform I'm whippin' up here), then added the center brace.
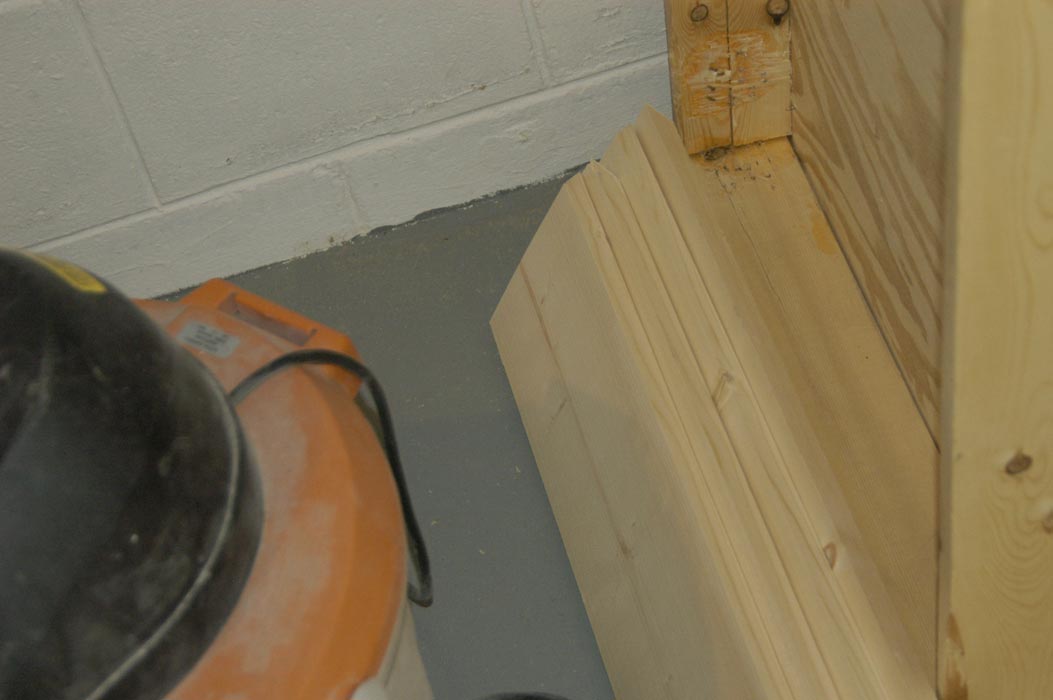
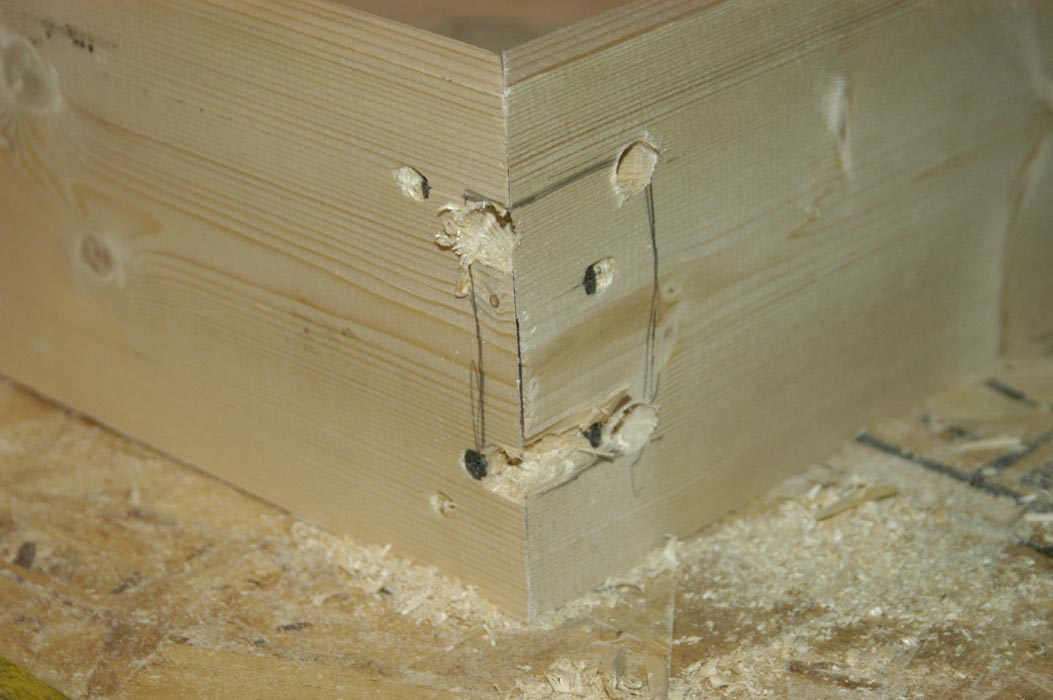
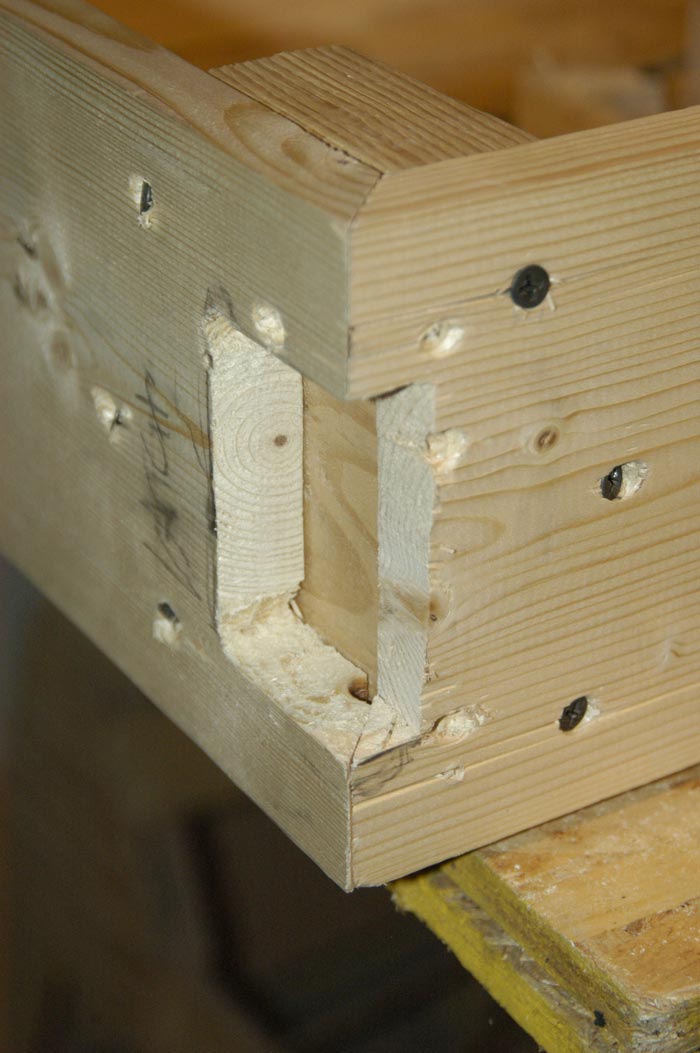
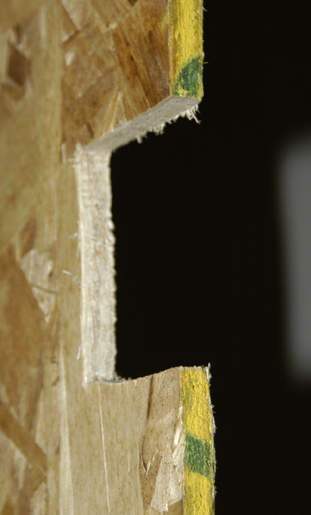
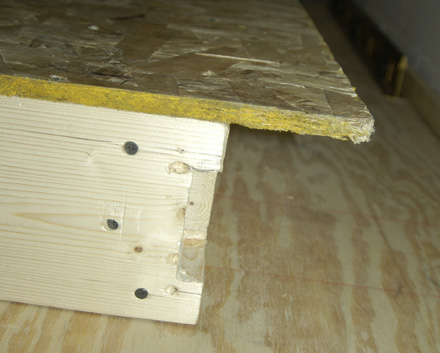
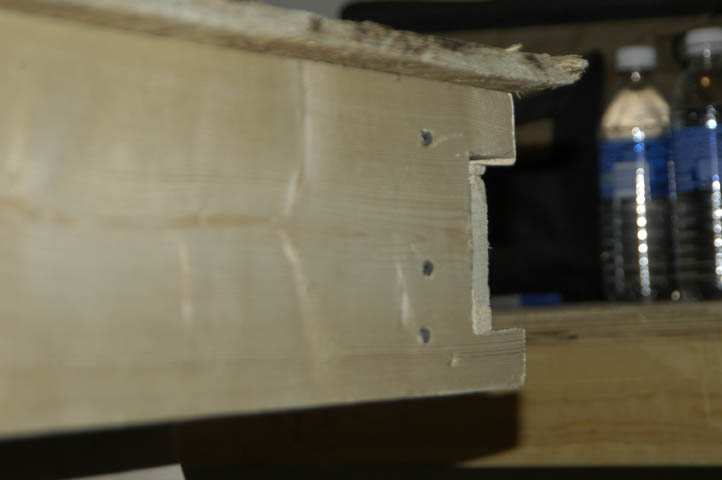
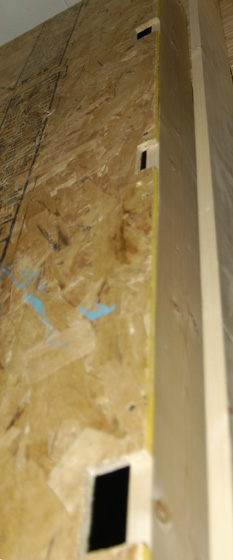
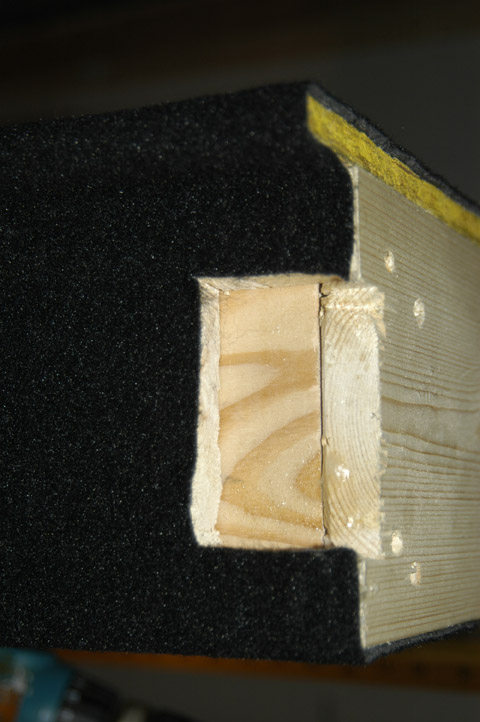
Once the frame's assembled, I traced the cutout for the latches, drilled starter holes and sliced out the corner pieces with a jigsaw to create the space where the latches are going to live. Look closely, and you can see the chunk o' 2x6 that's in the corner to help reinforce it once most of it is jigsawed away.


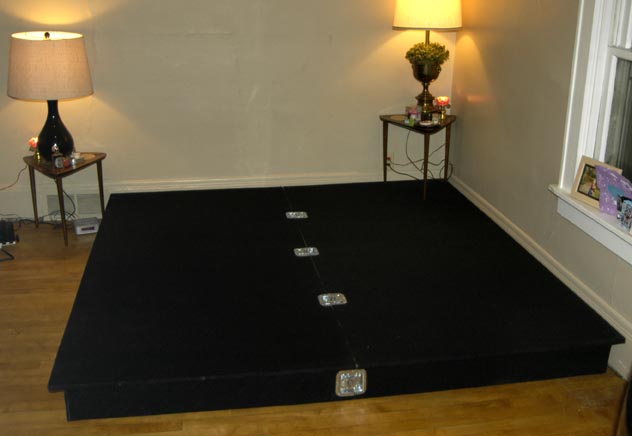
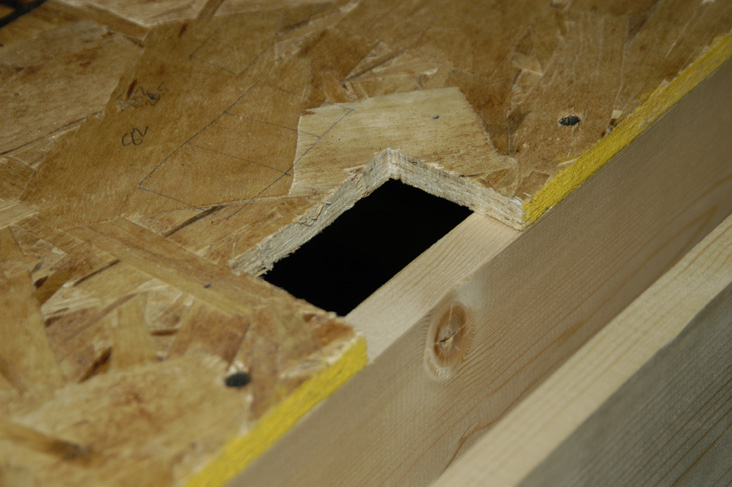
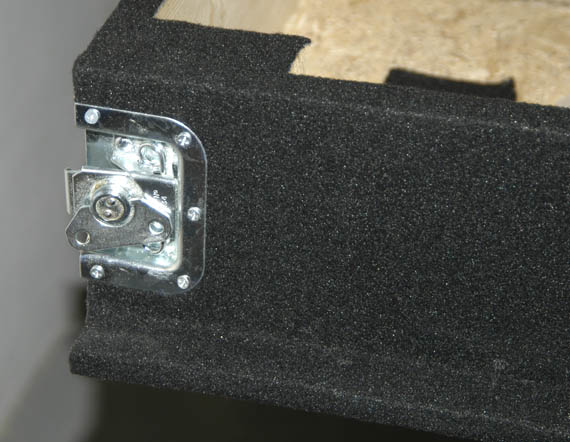
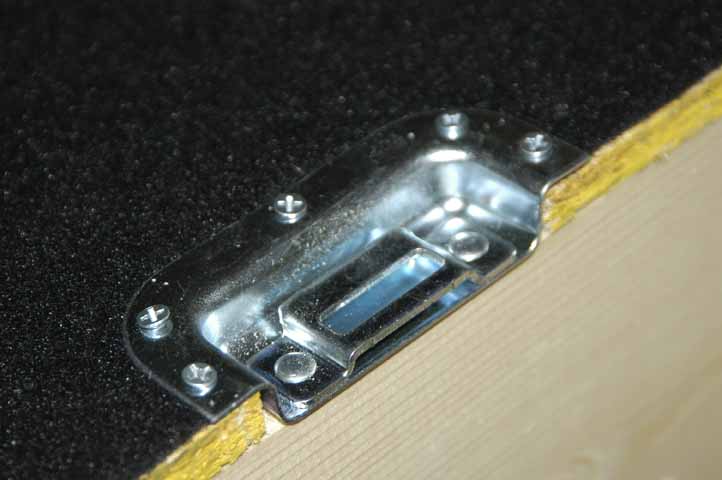
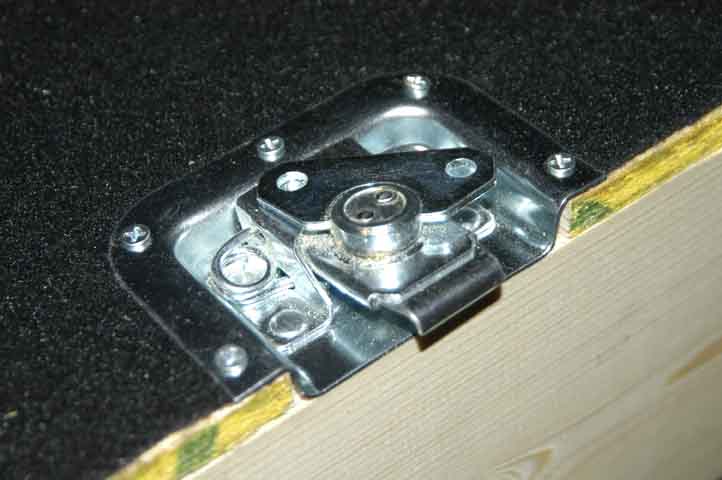
The rest of this is pretty much a no-brainer. Once the frames are built, it's a matter of attaching the flat platforms to the top. First though, I needed to cut out the notches for the latches in the platform. I decided to use three latches, alternating the hook sides for added stability. I cut these out with a jig saw, and wasn't terribly precise because I only needed enough space into which the screws holding the latches could dig--not precision machining by any stretch of the imagination, as long as the notches lined up across from each other on opposite halves of the bed.

To ensure that the two sections of the bed lined up, I had to make sure that the tops were perfectly aligned. I'd envisioned the head of the platform having more space than the other three sides to accomodate miscellaneous cables and cords that may need to run along the baseboard at the head of the bed, so there wasn't perfect symmetry on all of the sides.
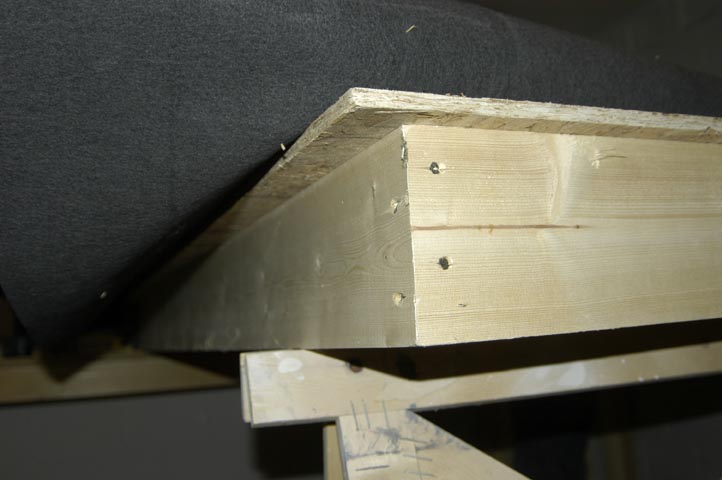
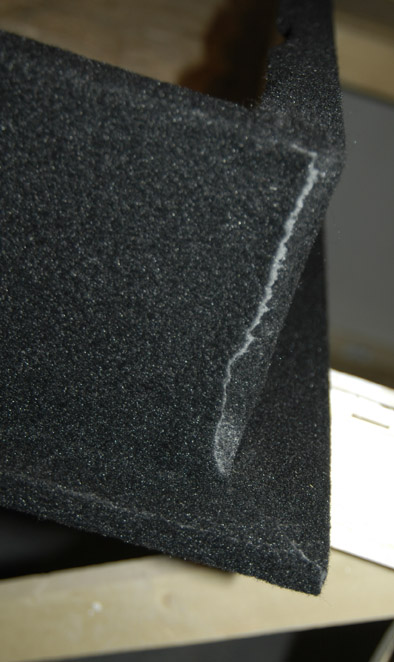
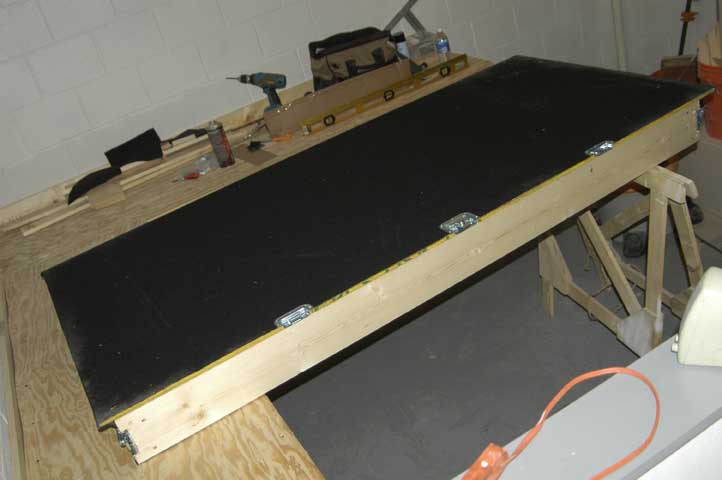
So now, with two platform sections completely built, it's time to put the fabric on. We measured the fabric, then fit it without adhesive to make sure there was enough slack in all the right places and that it flowed properly around all the corners. Once everything was in place, I clamped the fabric to the corners at the head of the bed and folded it back toward the head. I sprayed the wood at the foot half with Super77 (only half so the adhesive didn't dry out) then pulled the folded fabric back over the adhesive. We smoothed it out with a 36" aluminum level to ensure that no air bubbles were trapped. I unclamped the fabric at the head, folded it back to where the adhesive had stopped, then sprayed the ~other~ half with Super77, smoothing it out. We flipped the platform over, so the carpeted side was down, sprayed the underside of the platform and the base, then folded the fabric over, smoothed it into the corners with the level and trimmed the corners to fit.

E viola, two halves of a bed. They fit perfectly into the van, and if I may toot my measure-twice-cut-once skills, perfectly up the twisty staircase. Mission accomplished.
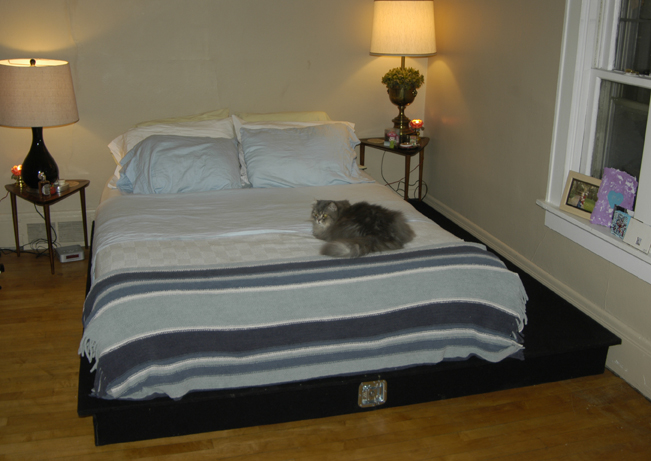
And it looks damned fine in the space, too.